Technical
In my artwork I try to keep the techniques I employ as diverse as possible. But over the last three years I have gotten more and more interested in using a more traditional, indirect method, which is similar to what the old masters used. The following paragraphs will map out my process.
Step 1 Subject & Canvas preparation:
The subjects of the paintings may vary but my main interest is portraits. In my recent work I tend to paint portraits of people that do not actually exist. I use an amalgamation of references and combine to create people that look real, but actually are not. On average I may use 7-8 references for one image, (I sometimes even use my own body or models as a reference). My references are sorted usually long before I start painting.
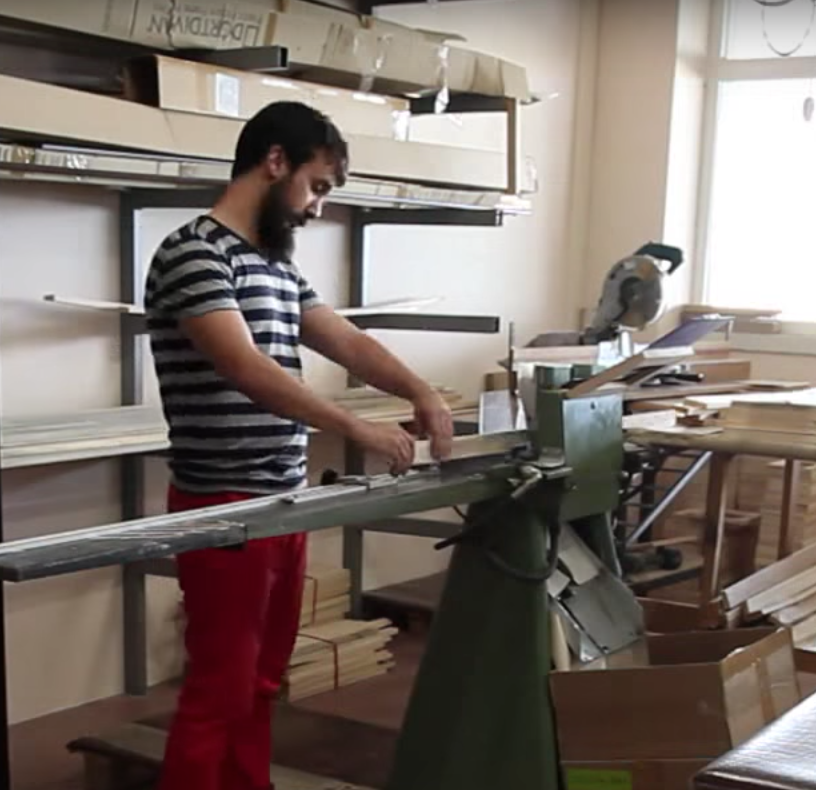
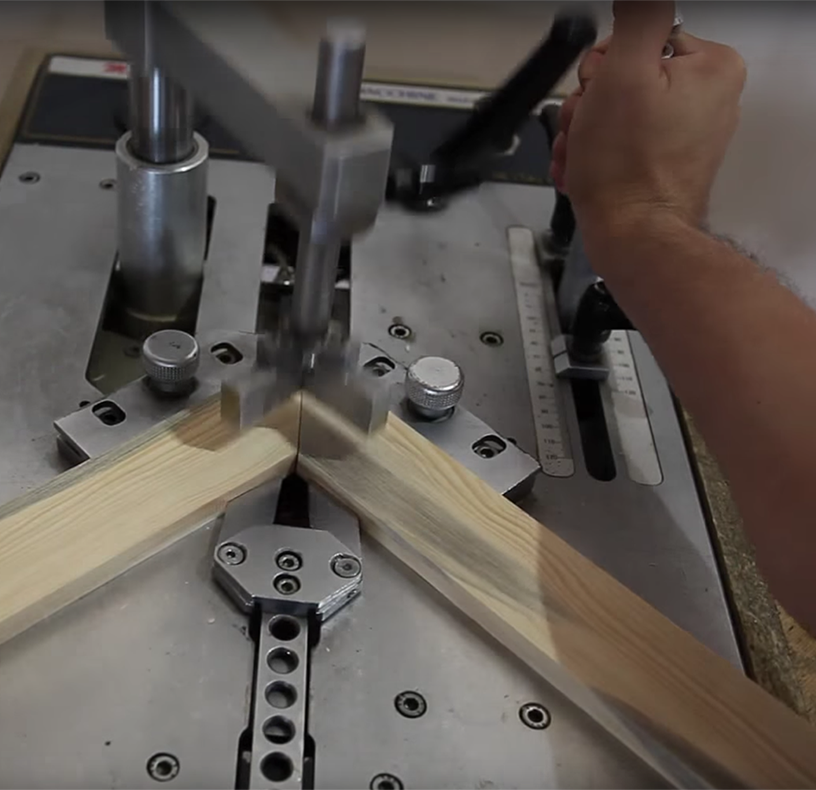
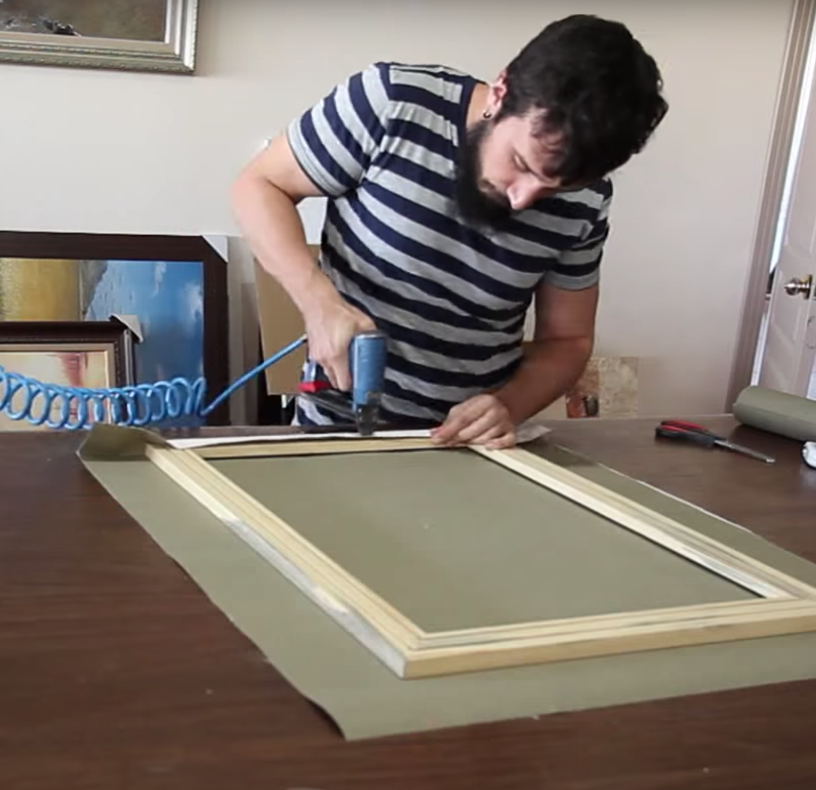
For the painting I start at the fundamentals. Recently, I started stretching my own canvas mainly because I don’t like most off-the-shelf-canvas’and they don’t always have the right size. So the journey of a painting begins for me with the canvas.
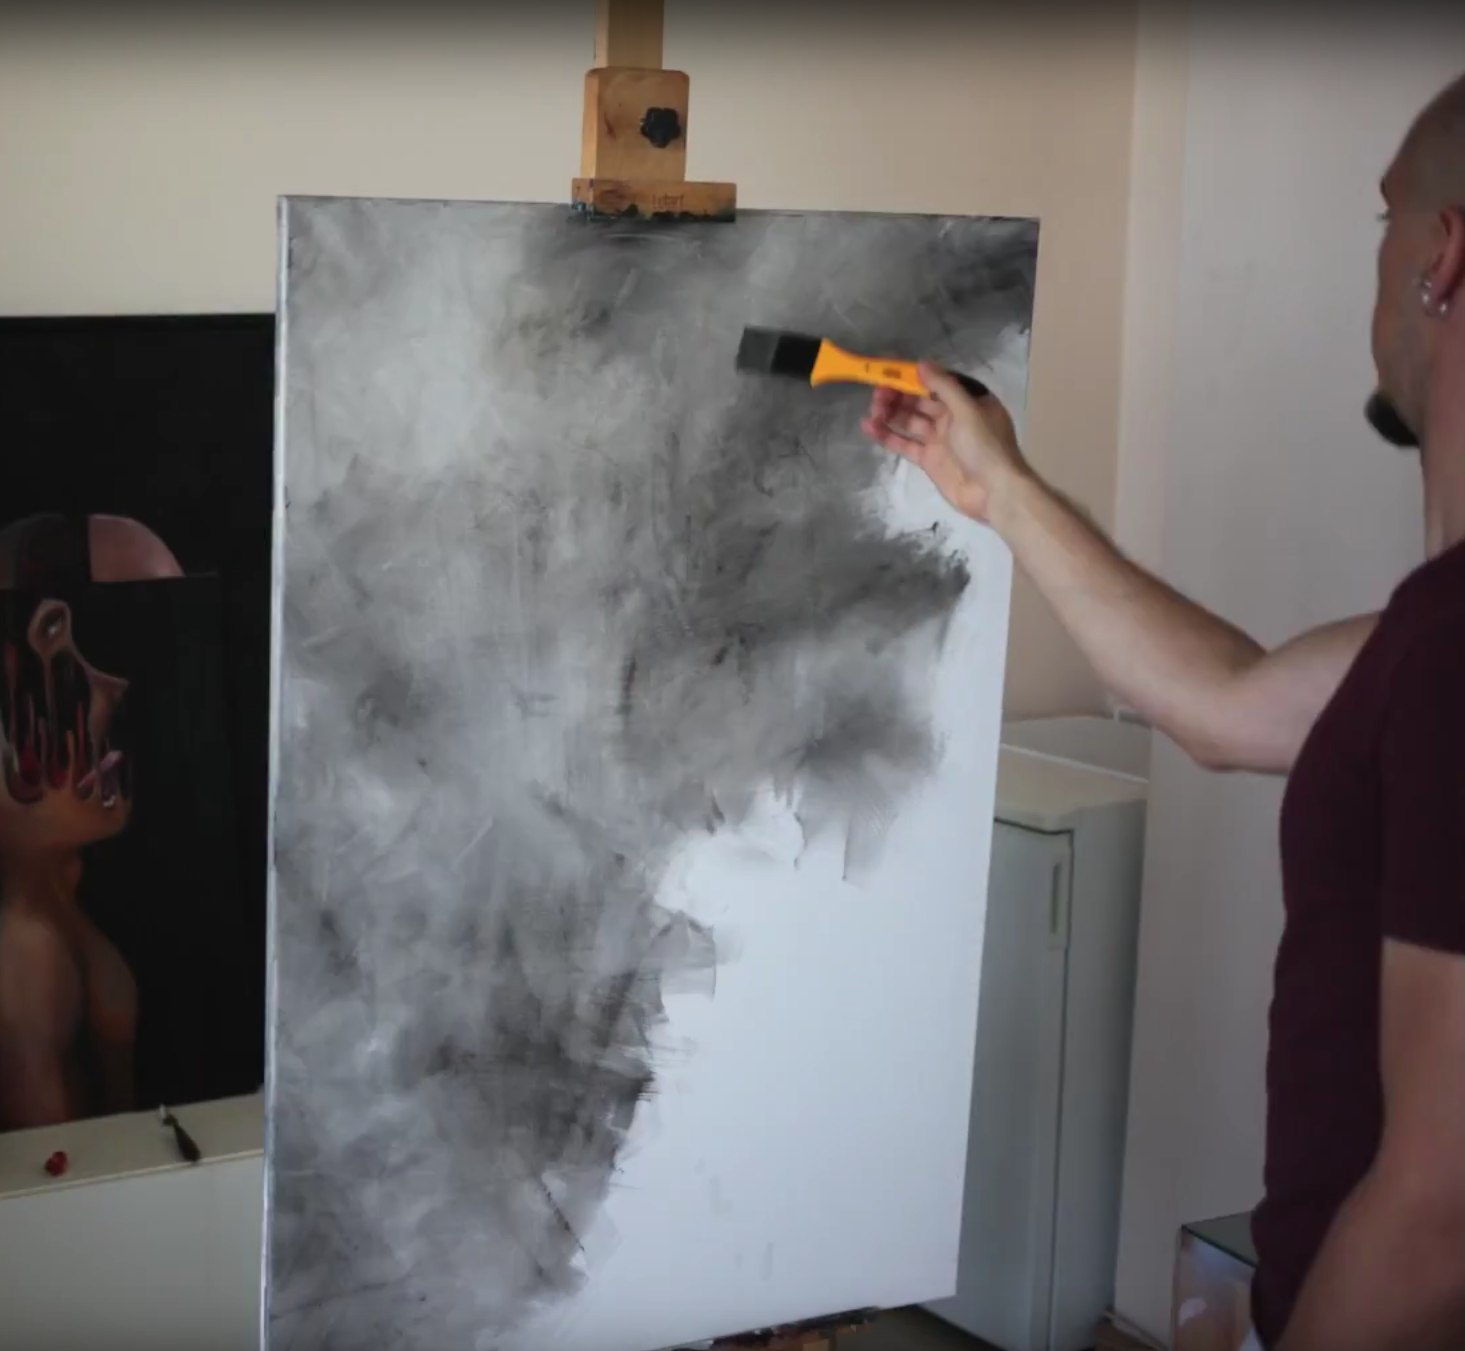
Step 2 Gesso:
Nearly all of my paintings have Gesso. This usually is applied to the canvas before I even start painting and very rarely, I add a second layer of gesso. The main reason most painters rely on this, is to reduce the transparency of the canvas, have a stronger backlighting, and eliminate color intrusion from the natural beige-ochre hue of the canvas itself. For me it is also important to have a thicker gesso to allow my brush to move more smoothly. Unlike wet-on-wet style, this gesso needs to be dry.
Step 3 Bole:
Most of my paintings have a bole (a reddish brown layer) I apply to the back. This layer for me has a psychological effect more than anything else. If you work with a bole, at any given moment the painting looks complete, which reduces anxiety
while working. But that is not the only reason. It creates a color affect on the overall painting and makes contrasting much easier but a bole also introduces some tonal values that will ultimately make the process of painting much easier. I usually mix the bole from powdered pigments and it may be acrylic based and/or oil based. I use a wide range of boles from salmon colors to Van Dyke brown.
Step 4 Sketching / Grisaille:
For me, the sketch need not be super detailed but having a basic sketch gives me a general idea about light distribution and general placement. As the painting progresses, I may or may not remain loyal to these underlines. For example in this painting, originally there was a trash bag in the background which I felt was too distracting and I opted to remove it later. Also you will see that some of the details shifted and distorted as the painting went on. Grisaille is a method of painting in gray monochrome and my sketching usually seamlessly lends itself into grisaille. For the grisaille and sketching layer I never use black, though it seems that way. The two colors I mix are ultramarine and Van Dyke brown, which I vary slightly to map out the warmth on the painting. For the whites, I tend to utilize titanium white though I may opt for buff titanium at times.
Step 5 Oiling out:
After the grisaille dries out, I put a thin layer of oil over the entire painting. Sometimes I might use half oil half medium mix (such as mineral spirits). This helps separate the grisaille from the layers of paint I will apply on top.
Step 6 Glazing:
A thin glaze layer helps map out color distribution over the oil painting. I try to work with a fairly dry glaze when I do. In this picture the glaze is visible on the shoulders and the non-white portions of the face. The glaze need not be perfect and as you can see in the following picture, I don’t always glaze the entire painting before I start laying out my first oil blocks. In the picture below, white portions are oil blocks, not glaze.
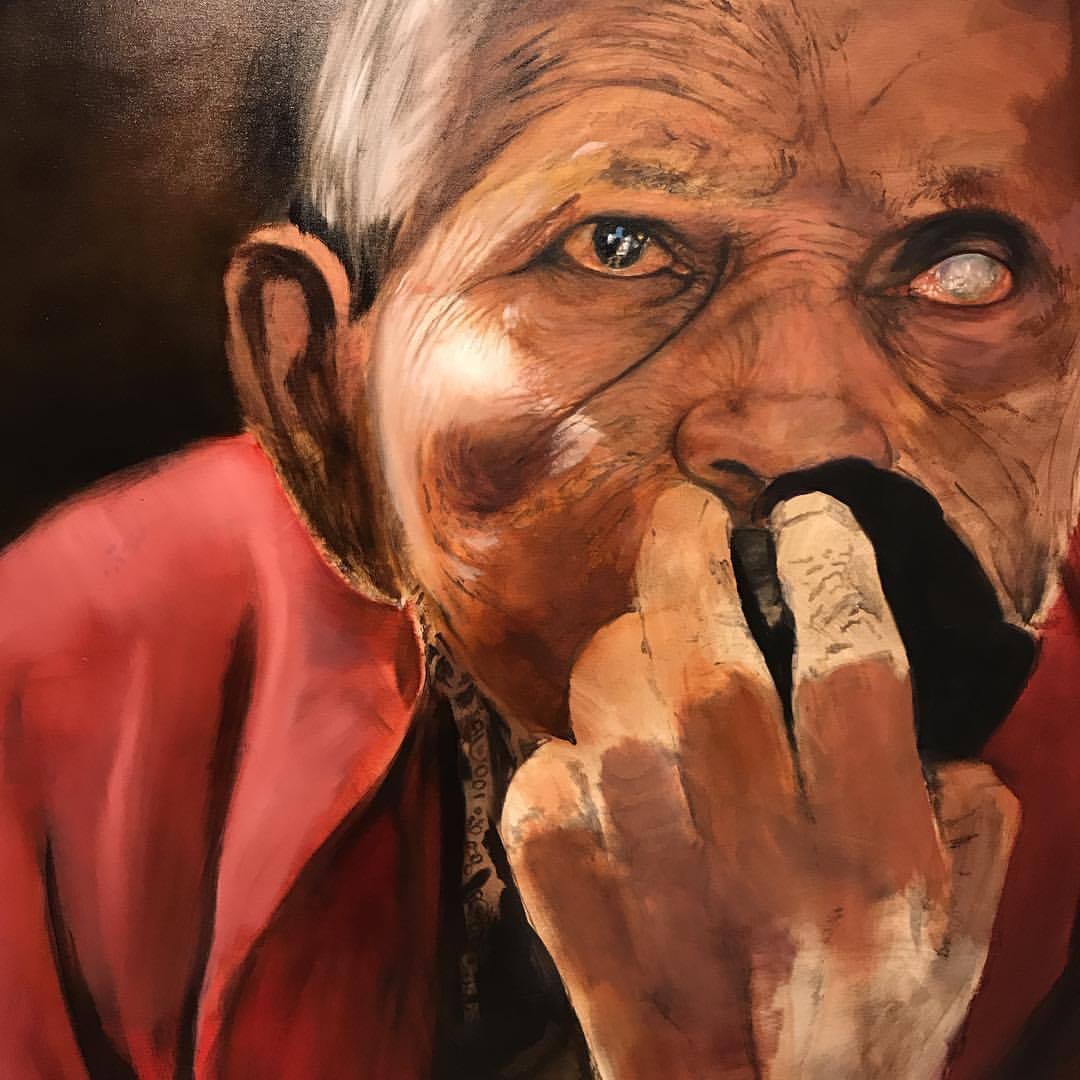
Step 7 Large blocks and focal points:
I let the glaze dry out before I start going in to the oil paints. The picture above also is a good example of how unrefined the first layers of oils I apply are. The hair, the background and the portions of the face and hand have large blocks of thin oil painting applied to them, with little to no attention to detail. I sometimes opt to do the focal points first, as can be seen in this picture. The eyes in this painting are what interested me the most and I finished them as I applied the first blocks. This is a seemingly unnecessary step but it actually helps me have a good idea on what the tonal range will be. I can use the eyes to go back and assess the tonal range of the rest of the picture as it develops. This is by no means a standard method but it helps me.
Step 8 Medium blocks:
As can be seen, without going into the finest details, I try to establish forms more effectively in this step. Shapes and smaller light details are refined at this stage and I tend to use color more freely to create a tonal diversity. Even though I use slightly thicker painting, I’m careful to not put too much of it. Too thick paint interferes with the detailing.
Step 9 Small blocks:
This layer is the last oil block before the detailing and unification process. The contrast is slightly more emphasized than the final painting but when this layer is finished, the painting will have all of its forms in place.
Step 10 Unification & Finalization:
This is the final step in the process. I reduce the contrast and add final minute details such as hair follicles. This is where I consider the painting as a whole rather than a collection of its pieces. Some details may be cut back, while others may be further emphasized, depending on the needs of the composition.After detailing, a clear coat of 50/50 medium-oil mix also helps unify the gloss.
Step 11 Varnish:
I prefer matt varnishes but it isn’t necessarily the only one I use. The composition or the style of the painting usually leads me to prefer one over the other. I think, my experience as a book cover designer also comes into play at this stage. I do not like glossy varnish mainly because it takes away from the approachability of the art as it reflects light too much and the shine of the varnish distracts the viewer.
Step 12 Repeat:
It is quite often that I feel the need to go back and redo a portion of the painting. When that happens, I go all the way back to step 5 and repeat the entire process for that region.